Where to find textures for SketchUp and how to import them
Find built-in and Warehouse materials, turn a licensed image into a correctly sized texture, and check when PBR maps or a paid Web material editor matter.
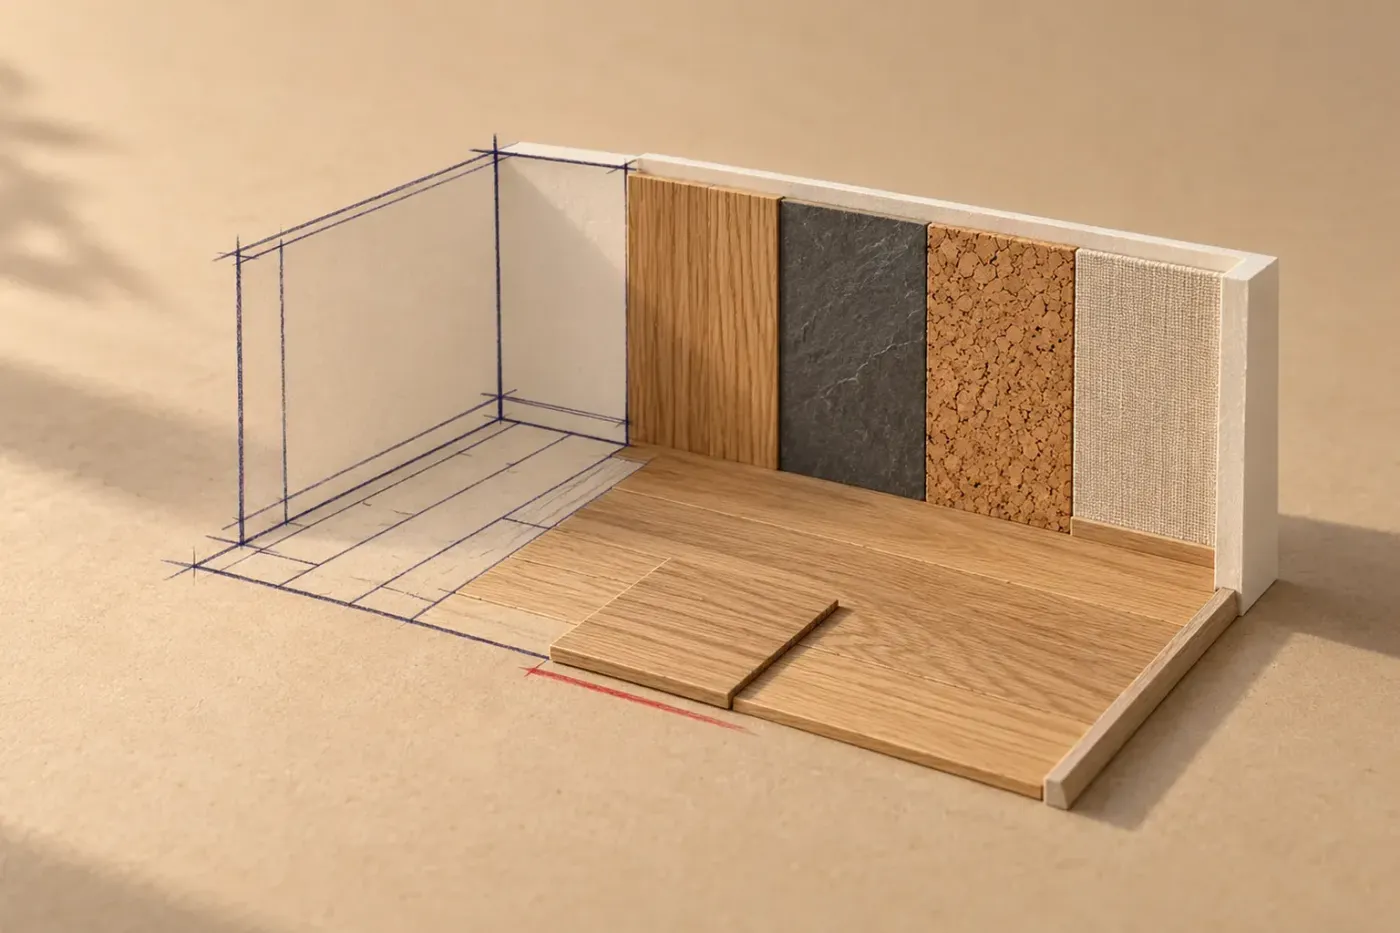
Find SketchUp textures in the Materials panel or in 3D Warehouse's Materials results. To use your own image, create a material from it, give the whole image a real-world width, and paint a face in your model. I'd set that repeat size before adding photoreal detail, because even a carefully shaded surface looks wrong when its tiles are several times too large.
Find the built-in materials first
In Desktop 2027 on Windows and Mac, activate the Paint Bucket tool to open the Materials panel. On its Select tab, use the collection dropdown to browse the built-in libraries. Select a material, then click the face you want to paint. In Model brings you back to the materials already used in the current model.
The Mac interface changed with Desktop 2027's unified interface. Earlier Mac releases use the native Colors dialog; their library categories sit under Texture Palettes, as described in the material collection controls. The detailed create-and-size recipe below uses the current Desktop panel.
In Web, open Materials and click Browse to see the default categories. Materials you add appear under Materials in Use. The Web feature table includes basic materials for Free users and subscribers, but reserves creating and editing materials for subscribers. Free can import JPG and PNG files; that file support doesn't include the paid material editor.
Download a material from 3D Warehouse
Start with the materials curated by SketchUp for wood, tile, stone, fabric and other collections. That collection also lists Classic Materials (pre-2025). A search result with “textures” in its title can instead open a user's model containing swatches, so check what kind of item you've found.
- From the Desktop Materials panel, click 3D Warehouse. Sign in with your Trimble ID and use a material your account can download. Warehouse download limits depend on your subscription.
- Search for the surface, such as oak or floor tile, then select Materials at the top of the results. Filters can narrow the results by category or texture maps. Show Extracted Materials in Results also includes materials attached to models.
- Open a material's details and inspect its Resolution, Physical Size and texture maps. Check the physical size against the surface you're representing.
- Click Download. With the integrated download route, the material arrives selected in Materials and Paint Bucket becomes active. Click an editable face to apply it.
Download from inside SketchUp when you want to paint with the material: the integrated route puts it straight into the Materials panel, while the Warehouse website saves a standalone .skm file to your device. To take one material from someone's model, open that model's 3D Warehouse page, click Material Count under Model Info, pick one material and download it. For furniture and other complete objects, the 3D Warehouse workflow covers model search and import.
To keep a project's materials together, click the Details arrow on the Select tab and create a collection for that project or for the materials you make. Then open the secondary selection pane to move materials into it from In Model, as the collection controls describe.

Choose an image you can use and share
For a custom material, choose an image you own or a texture whose license covers both your project and the way you'll deliver it. Look for a known repeat size, even lighting and image edges that meet cleanly when repeated. A dark photographic shadow will repeat with the image, so a flatter source gives you more control over the model's lighting.
- Poly Haven's texture assets are CC0. Its license permits commercial use and redistribution without mandatory attribution. Download the actual asset: the same page excludes website example renders, logos and other site content from that asset license.
- SketchUp Texture Club's texture terms allow personal work and specified commercial visualization uses. They restrict client-model delivery to final consumers and prohibit redistributing the textures as material packs or inside models released free or for sale. Downloads require an account, and mapped or high-resolution content has membership restrictions.
For an SKP intended for public download, I'd choose an asset with explicit redistribution permission, such as a CC0 texture. Keep its asset URL, license and physical repeat size with the image. A texture's commercial-use permission also leaves the modeling application's terms in place: SketchUp Free is for noncommercial use.
Create a material and give the whole image a real size
Begin with an image file saved on your device and a face you can paint directly. If the face sits inside a group or component, enter that container's editing context first. Use the source's physical dimensions, including any joints or gaps contained in the picture.
For example, suppose the image contains four tiles across, with each tile and its grout joint occupying 300 mm. The full image represents 1200 mm across. That full width is the number to give the material.
Create it in the Desktop Materials panel
- Open Materials. On Select, click Create New Material, then name the material so you can recognize its surface and repeat size.
- Enable Use texture image and select your image file. Click OK. The new material appears selected in In Model.
- Use Paint Bucket to apply it to your test face. Apply the material before editing it: the Edit tab requires an applied, in-model material.
- Select that material in In Model, or use Sample on the painted face, then open Edit. Set the texture tile's width to
1200mmfor this example. Keep the aspect-ratio chain linked so the height follows the image's proportions. A square source image will then cover a square physical area.
The size fields describe one complete image repeat. Giving this four-tile image a width of 300 mm would make each tile only 75 mm wide. Pixel dimensions tell you how much image detail is available; the material's size fields determine how much model space that image covers.
Import directly onto a face
Desktop also lets you create the material while placing the image. Choose File > Import, select the image and choose Use As Texture. Confirm the import, place its first corner on the face, then move the cursor and finish its placement at the required size. SketchUp creates a material, and the image repeats across any remaining area of that face.
After placement, sample the material and use Edit to set the exact repeat width as above. Use As Image creates a separate image entity, which suits a reference picture you want to position or trace.
Check one complete repeat
Use a face with a known width to check the material. In this example, a 2400 mm wide face should hold two full 1200 mm image repeats, or eight tile pitches across, when the pattern is aligned with that edge. Count from one recognizable grout line to the corresponding line in the next repeat.
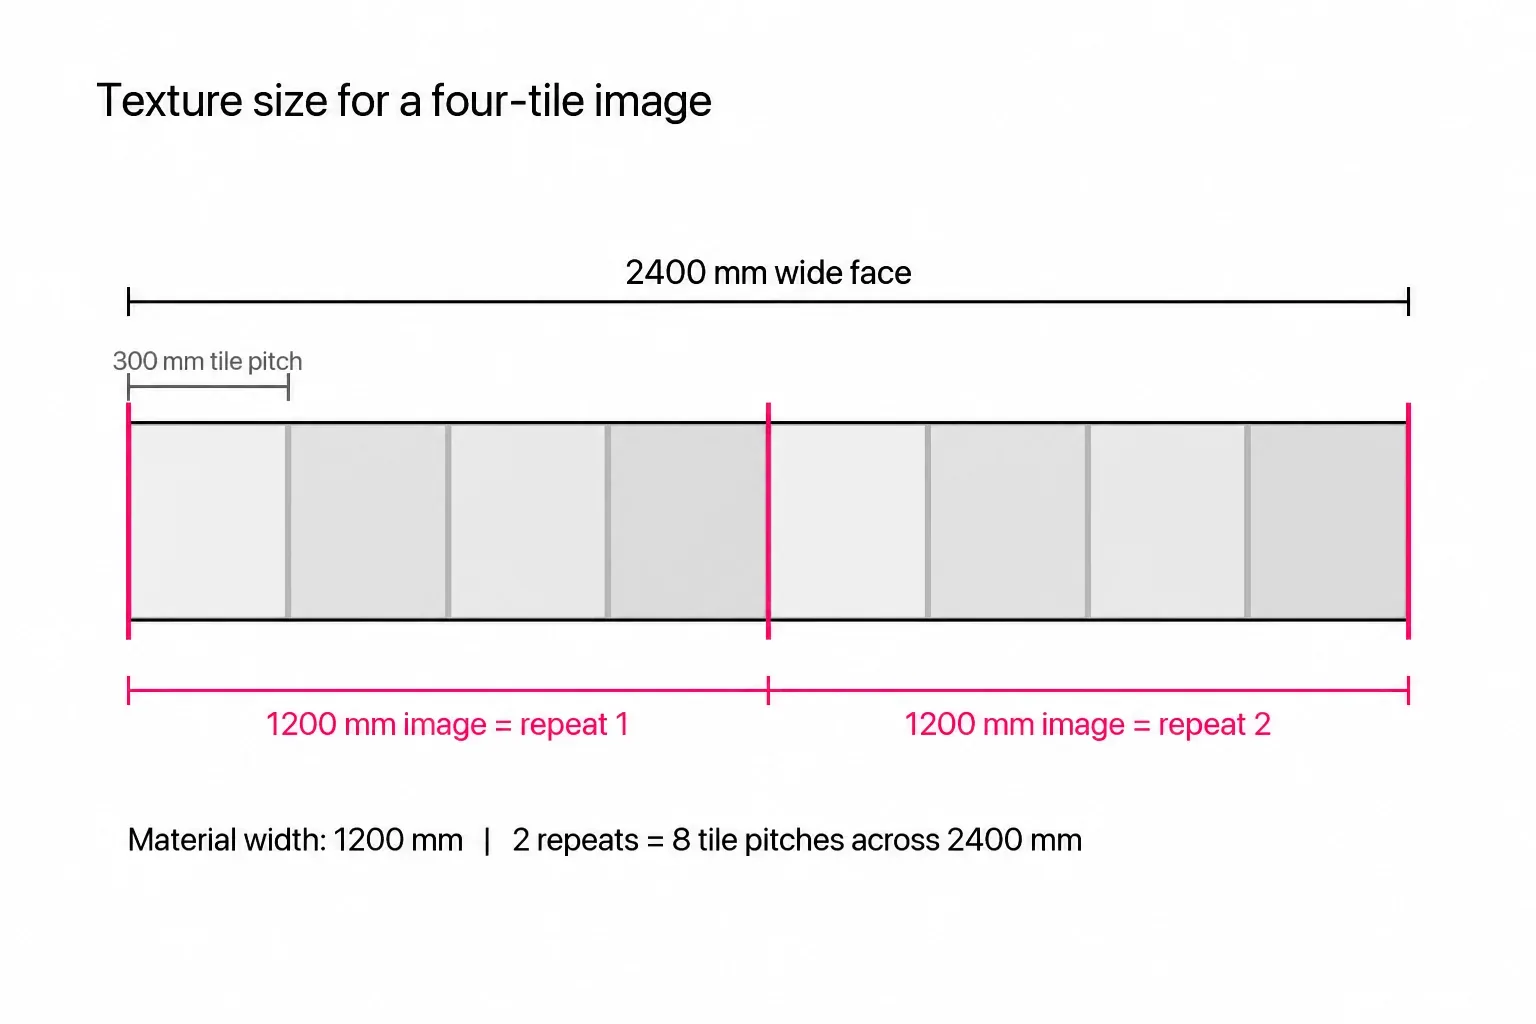
To check the face itself, use Tape Measure in Measure mode: click its two endpoints and read the distance in Measurements. Do not type a value straight after measuring, because SketchUp then asks whether to resize your model. Click into the width field on the material's Edit tab first, so the geometry keeps its real size while you correct the texture.
Use Photoreal Materials when the surface needs more than color
Desktop 2025.0 introduced Photoreal Materials. An image texture supplies the visible pattern, such as wood grain or printed fabric. PBR maps add surface properties that respond to lighting and surroundings.
In the Desktop editor, roughness controls the polished-to-matte response, metalness controls metallic reflection, normal maps add apparent surface detail, and ambient occlusion adds darkening in the material's crevices. A normal map creates the illusion of depth while leaving the face geometry unchanged. For a floor layout, the image and its repeat size may be all you need; a close view of the finish benefits from the extra surface controls.
If an image material has no maps, the Generate Textures icon in the lower right of the Edit tab's preview creates Metalness, Roughness, Normal and Ambient Occlusion maps for it. Plans and credits for that AI feature belong with SketchUp AI.

To judge that finish, use the Display Photoreal Materials face style and select an Environment for the full effect. Display Shaded Using Textures shows the basic texture. Keep the same lighting while comparing finishes in your materials and styles workflow.
For Web, the current Materials guide documents PBR support through WebGPU; the Classic graphics engine cannot use photoreal materials. That is a graphics requirement. The subscription boundary for creating and editing Web materials still applies, and Warehouse downloads remain subject to your account's access.
Keep a view that proves the scale
If the face shows a flat color, or only some faces in a group take the material, work through the materials not showing checks before changing the material's size.
Once the repeat size is right, position a texture to turn the grain or align a grout line. On Desktop, frame the sized face, open Scenes and click Add Scenes. Use Show Details to name the scene Texture scale, then save the model. You can return to that same inspection view when comparing another material.